How To: Raspberry PI Imager
I want more raspberries.

If you find any of the software shown here useful and want to show the developers some ❤️, you might consider giving them a ⭐ on GitHub or perhaps fuel their next update or release by buying them a ☕, even better would be something a little stronger 🍺 by becoming a Patron on Patreon.
Raspberry Pi have a section on the data they collect and why on their GItHub page here. Give it a read if you are concerned about privacy.
Installation:
Pacman
Imager is in the Arch Linux package repository and is maintained by Christian Heusel.
Update your system and Install using pacman:
1
2
sudo pacman -Syu
sudo pacman -S rpi-imager
AppImage:
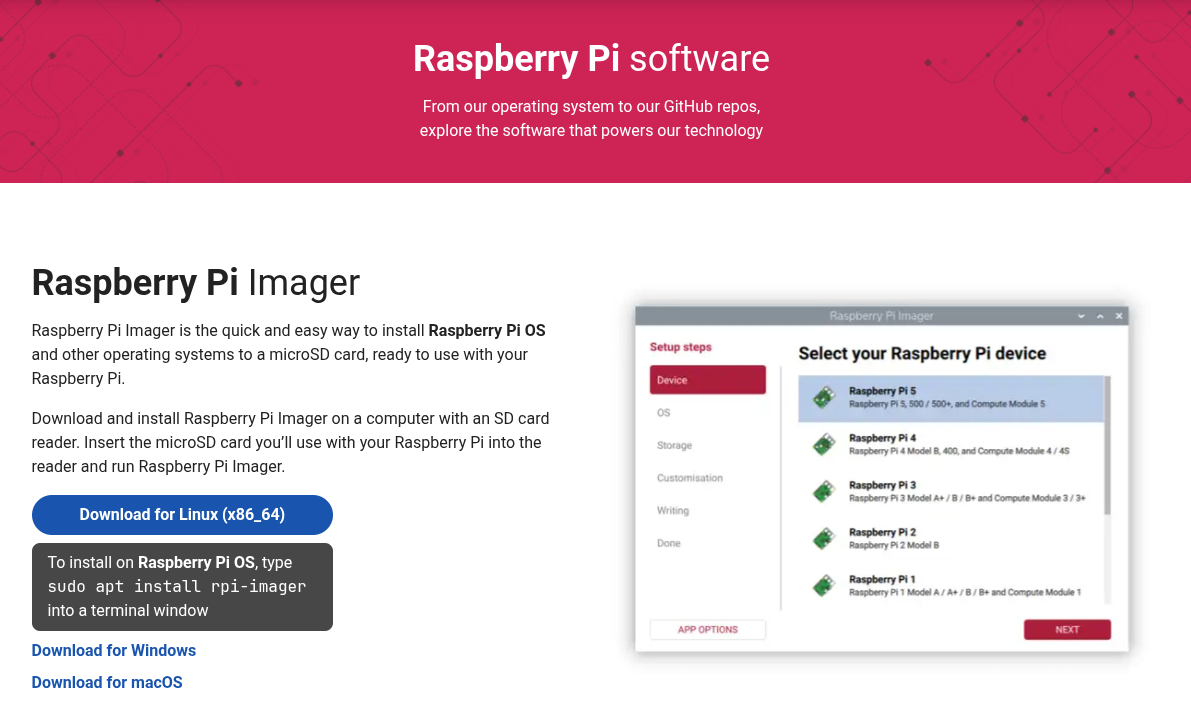
Raspberry Pi release an AppImage for Linux users of Imager on their software downloads page, alternatively you can head over to their GitHub page and have a look at the releases section for the latest version of Imager.
I have a post on How To: AppImage on Arch Linux, be sure to have a look if you don’t know how to use them yet.
Simply run:
1
2
chmod +x imager_2.0.6_amd64.AppImage
./imager_2.0.6_amd64.AppImage
Snap
I have released a post on How To: Install Snap on Arch Linux so have a look at that if you don’t have it installed already. If you do, go ahead and install using snap by running:
1
sudo snap install rpi-imager

That’s it. You are ready to install an OS on your Raspberry Pi device.
When in doubt, read the docs. Have a a look here to get started.
References:
- https://www.raspberrypi.com/ - Raspberry Pi Homepage
- https://github.com/raspberrypi/rpi-imager Raspberry Pi GitHub page for Imager
- https://www.raspberrypi.com/documentation/computers/getting-started.html#raspberry-pi-imager - Getting Started documentation for Raspberry Pi